Substrate preparation

Substrate preparation

Substrate preparation

Clean the substrate. If necessary, level and create the needed 2% slope with repair mortar Cemix 5286. Apply the mixed mortar on the moistened substrate and level it with a trowel to the desired thickness of the layer.

Substrate for balcony profile

Substrate for balcony profile  | © Lasselsberger GmbH

Substrate for balcony profile

Make a recess for the balcony profile along the perimeter of the balcony at the spot for the cladding.

Penetration

Penetration | © Lasselsberger GmbH

Penetration

After 3 hours vacuum the substrate and prime it with Cemix 2614.

Cladding

Cladding | © Lasselsberger GmbH

Cladding

Using system of connectors and corners glue the Cemix PROFILE BALCONY BP 50/6 system flashing to the front edge of the balcony. Use Cemix MS POLYMER for gluing. Cover the transition to the floor with self-adhesive tape Cemix 8101.

Waterproofing application

Waterproofing application | © Lasselsberger GmbH

Waterproofing application

Apply a contact layer of adhesive Cemix 8260 with the smooth side of the trowel. Apply the needed amount of adhesive and spread it evenly over the surface with a notched trowel of a tooth size 6 mm. Put the waterproofing membrane Cemix 8130 on the adhesive. Lay the single strips in the equal direction of the slope so that the joints are in the direction of the slope. Lay the membrane with overlaps of 100 mm. Glue the joints using Cemix MS POLYMER. Pull the membrane stripes up the wall over the balcony and wall joint by at least 150 mm.

Tile installation

Tile installation | © Lasselsberger GmbH

Tile installation

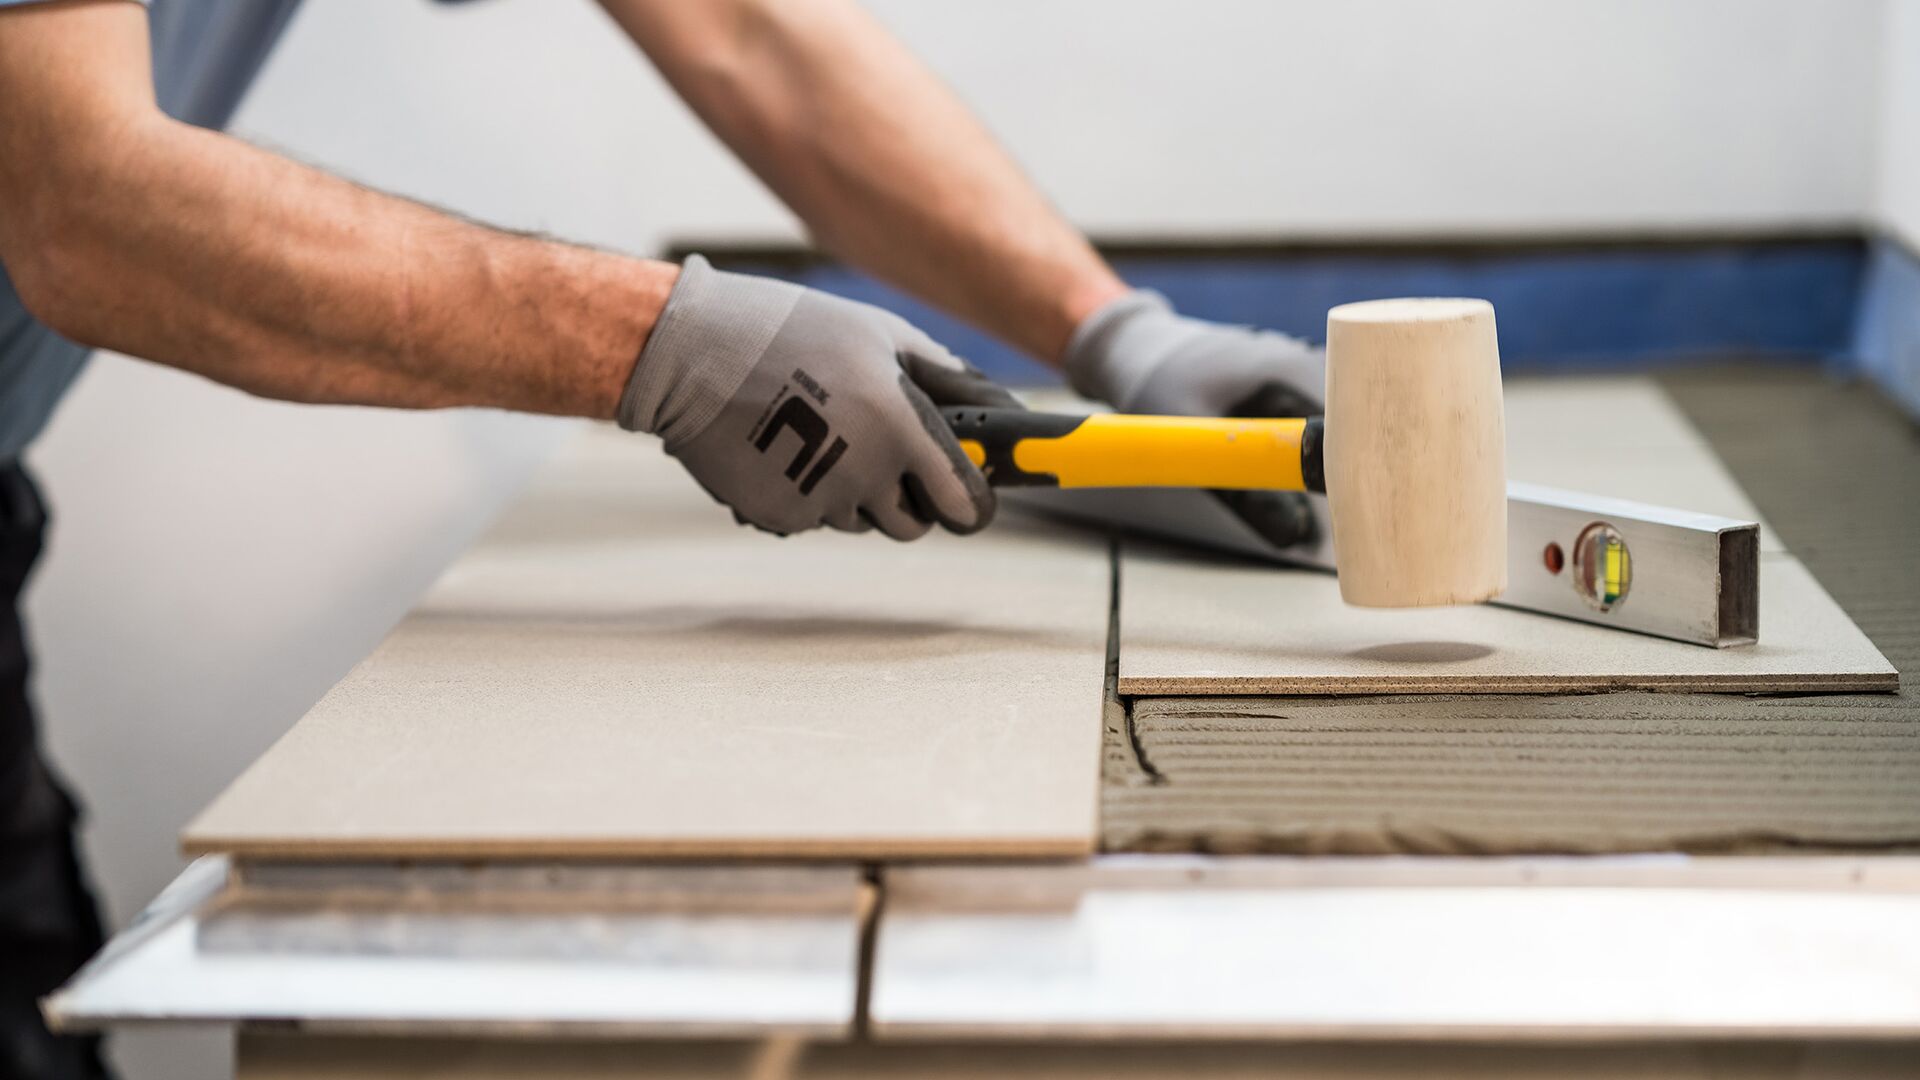
Apply a contact layer of adhesive Cemix 8260 on the floor with the smooth side of the trowel. Apply the needed amount of adhesive, spread it evenly over the surface with a notched trowel. Lay tiles. If necessary, use a trowel to apply adhesive on the tiling element and place it in a spot. On large-format tiles, apply adhesive on the reverse side of the tiles with a notched trowel. Alternatively use a levelling kit to make installation more comfortable.
Plinth

Plinth | © Lasselsberger GmbH

Plinth

After finalizing the floor and when the adhesive is cured, insert the separation cord Cemix 8810 between the tiles and the wall. Then glue the plinth to the wall with adhesive Cemix 8260.

Jointing

Jointing | © Lasselsberger GmbH

Jointing

Clean the area before grouting. Remove all adhesive residue from the joints or the edges of the cladding element and wash with water. Apply RAKO GFDRY grout diagonally over the joints and press it into the joints.

Grout washing

Grout washing | © Lasselsberger GmbH

Grout washing

When is the grout RAKO GFDRY set, wash the floor with a sponge and a washing kit.

Flexible sealant application

Flexible sealant application

Flexible sealant application

Use flexible sealant RAKO ASI to connect the wall with the floor and other different structures. Apply the protective tape to the sides of the tiles and use the flexible sealant. Spray a soapy solution on the freshly applied sealant and smooth the joint with a trowel for silicone joints.

Balcony

Balcony | © Lasselsberger GmbH